Homemade Reese’s Cups with Chocolate Shell
Highlighted under: Modern Favorites
I absolutely love making my own version of Reese’s Cups because they remind me of childhood treats while allowing for a personal touch. The combination of smooth peanut butter and rich chocolate creates a mouthwatering experience that’s hard to resist. I've experimented with different types of chocolate, and I’ve found that using a mix of dark and milk chocolate strikes the perfect balance between sweetness and depth. Making these at home not only satisfies my cravings but also brings back fond memories of sharing them with friends and family.
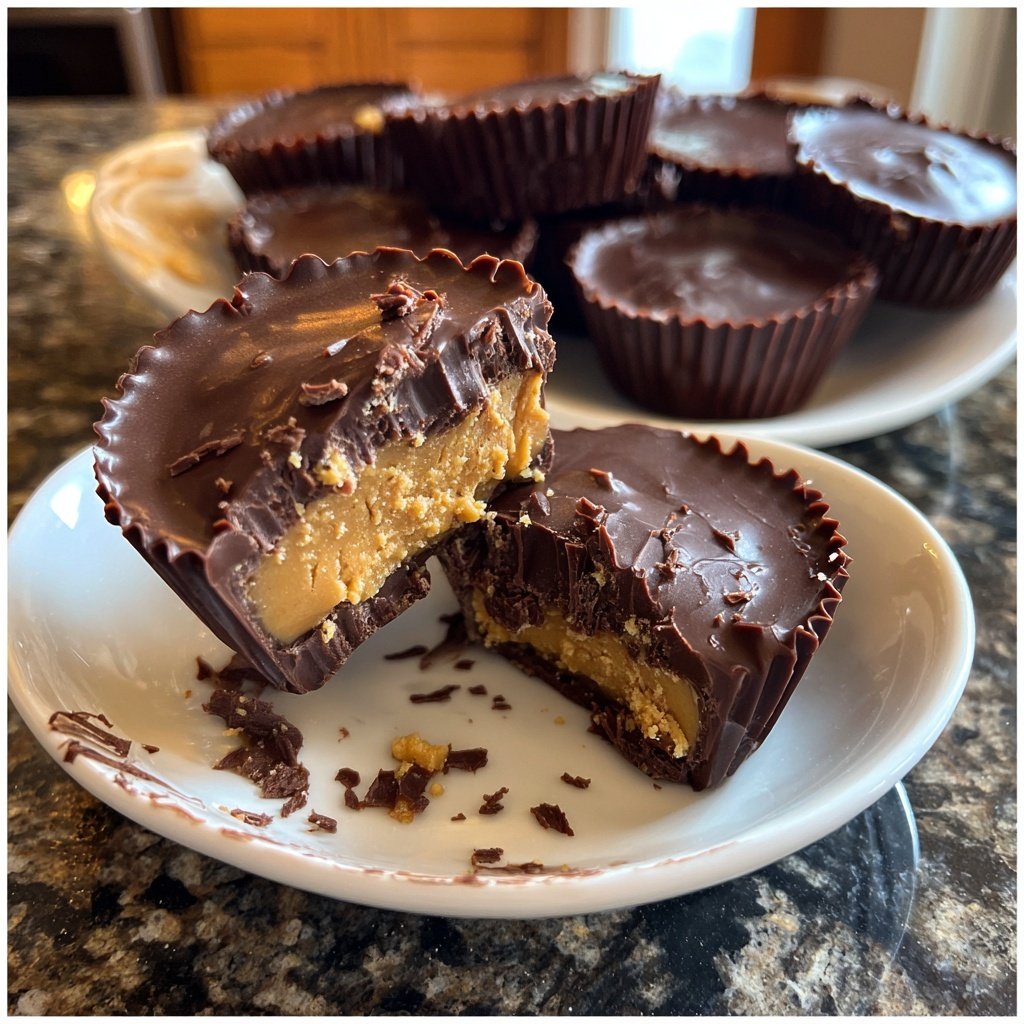
When I first attempted to make my own Reese’s Cups, I was surprised at how simple and rewarding the process truly is. From melting chocolate to mixing the peanut butter filling, each step is filled with excitement and anticipation. I love to create a thicker chocolate shell to enhance the flavor and texture, which makes these treats even more indulgent. One key to success is ensuring the chocolate is tempered properly, which gives it a glossy finish and a satisfying snap when you bite into it.
I've learned from making these that letting the cups set in the freezer for a bit after pouring the chocolate helps solidify them better. This enhances the overall texture when you take that first bite! Each time I share these homemade treats, they instantly become a favorite among friends and family — the joy of sharing something I've crafted from scratch is unparalleled.
Why You Will Love This Recipe
- Decadent and creamy peanut butter filling
- Irresistibly rich chocolate shell for a perfect bite
- Customizable with different nuts or flavors inside
Mastering the Chocolate Layer
Achieving a perfectly smooth chocolate layer is crucial for that signature Reese’s Cup experience. When melting the chocolate, using a double boiler helps regulate the heat and prevents scorching. If you're using a microwave, heat the chocolate in short bursts of 20-30 seconds, stirring in between until it’s glossy and fully melted. This careful melting process not only ensures a smooth texture but also enhances the chocolate's shine once set, making your cups visually appealing.
Be mindful of the chocolate temperature when pouring it into the cupcake liners. Ideally, the melted chocolate should be warm enough to flow easily but not hot enough to melt the peanut butter filling later. If you're feeling adventurous, try infusing the chocolate with a hint of espresso or sea salt to deepen the richness—it can elevate the flavor profile significantly.
Perfecting the Peanut Butter Filling
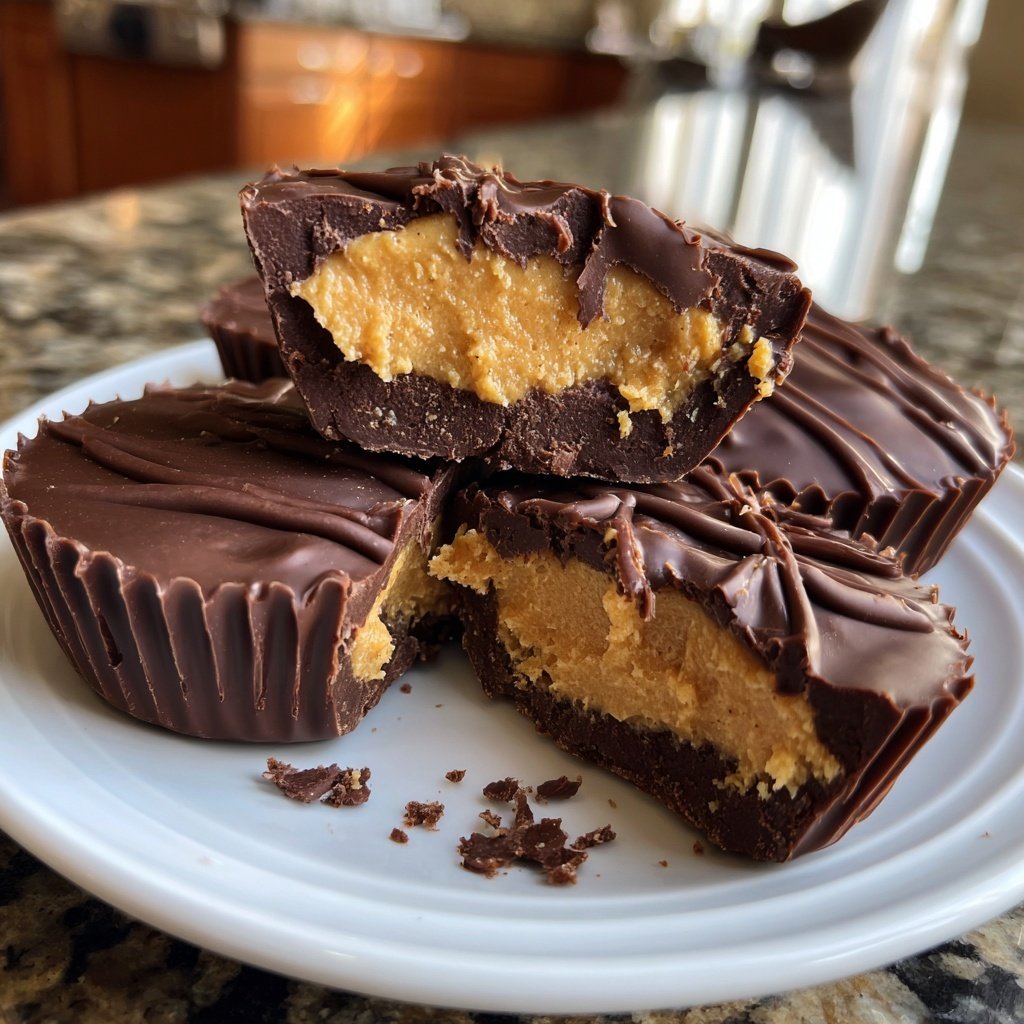
The peanut butter filling is where the magic happens, giving your homemade cups that creamy, decadent texture. Using creamy peanut butter is essential as it blends seamlessly with the powdered sugar and graham cracker crumbs, creating a luscious filling that contrasts beautifully with the chocolate. For those who want a different twist, consider using crunchy peanut butter for added texture or even almond butter for a nutty variation – just keep in mind that different nut butters will slightly alter the flavor.
To ensure your filling sets well, mix all ingredients until fully incorporated without any lumps. If the mixture feels too dry, add a touch more peanut butter until it reaches a smooth consistency. For an added kick, feel free to fold in a sprinkle of cinnamon or a dash of maple syrup—these small tweaks can make a big difference in flavor.
Storage and Serving Ideas
These homemade Reese’s Cups can be stored in an airtight container at room temperature for about a week. However, if you want to keep them fresh longer, consider refrigerating them, where they can last for up to two weeks. Just remember that refrigeration may slightly alter the texture of the chocolate, making it a bit firmer. If you plan to make them ahead of time, freezing is an excellent option! They can be frozen for up to three months, and just 10-15 minutes at room temperature will bring them back to that ideal texture.
For serving, think about arranging these delightful cups on a platter alongside fresh fruit or a scoop of vanilla ice cream for a fun dessert presentation. You could also sprinkle coarse sea salt on top for a gourmet finish or even drizzle some melted chocolate and crushed nuts for a textured touch. The possibilities for customization are as endless as your imagination!
Ingredients
Gather your ingredients before starting for a smoother process.
Ingredients for the Cups
- 1 cup milk chocolate chips
- 1 cup dark chocolate chips
- 1 cup creamy peanut butter
- 1 cup powdered sugar
- 1/4 cup graham cracker crumbs
- 1/2 teaspoon salt
- 1 teaspoon vanilla extract
Make sure everything is measured for best results.
Instructions
Follow each step carefully to create the perfect Reese’s Cups.
Melt the Chocolate
In a microwave or double boiler, melt the milk and dark chocolate chips together until smooth. Stir occasionally to avoid burning.
Prepare the Cups
Use cupcake liners in a muffin tin. Pour a spoonful of the melted chocolate into each liner and tilt to coat the sides. Place it in the freezer for ten minutes to harden.
Make the Peanut Butter Filling
In a mixing bowl, combine the peanut butter, powdered sugar, graham cracker crumbs, salt, and vanilla. Mix until well incorporated and smooth.
Fill the Cups
Once the chocolate in the liners has set, add a generous dollop of the peanut butter mixture on top, leveling with the chocolate edges.
Top with More Chocolate
Pour another layer of melted chocolate over the peanut butter filling until completely covered. Return to the freezer for about 20 minutes to set.
Enjoy
Remove the cups from the muffin tin and paper liners, and enjoy your delicious homemade Reese’s Cups!
Enjoy your tasty homemade treats with friends or family!
Pro Tips
- Experiment with different types of chocolate or add nuts for extra crunch.
Troubleshooting Common Issues
If the chocolate seems to crack when you bite into the cups, this can happen due to a rapid change in temperature after setting. To prevent this, make sure to temper your chocolate before melting or allow it to cool slightly before adding the peanut butter layer. Additionally, make sure not to overheat the chocolate; it should be just melted and not too hot when pouring into the liners.
In case the peanut butter filling is too runny, adding an extra couple of tablespoons of powdered sugar can help thicken it up. On the other hand, if it’s too thick, you can soften it with a bit more peanut butter or a splash of milk to reach a spreadable consistency. Adjusting these elements can ensure your cups have the perfect bite.
Scaling the Recipe
This recipe is easily scalable depending on your needs. For a larger batch, simply double or triple the amounts while keeping the ratios for each ingredient consistent. If you prefer to make fewer cups, you can halve the ingredients, though be aware that smaller batches might require adjusting the melting and setting times in the freezer to achieve the right consistency.
To accommodate special dietary needs, consider using gluten-free graham crackers or a sugar substitute for a healthier option. Experimenting with different chocolate brands can also affect the final taste, so don’t hesitate to try various options until you find your preferred blend.
Questions About Recipes
→ Can I use natural peanut butter?
Yes, but it may alter the texture slightly. Make sure to stir it well before measuring.
→ How should I store these cups?
Store them in an airtight container in the refrigerator to keep them fresh.
→ Can I freeze these cups?
Absolutely! They freeze well and can last for up to 3 months.
→ Is it possible to make these vegan?
Yes, you can use dairy-free chocolate and a vegan peanut butter alternative.
Homemade Reese’s Cups with Chocolate Shell
Created by: Seraphina Moore
Recipe Type: Modern Favorites
Skill Level: Intermediate
Final Quantity: 12 cups
What You'll Need
Ingredients for the Cups
- 1 cup milk chocolate chips
- 1 cup dark chocolate chips
- 1 cup creamy peanut butter
- 1 cup powdered sugar
- 1/4 cup graham cracker crumbs
- 1/2 teaspoon salt
- 1 teaspoon vanilla extract
How-To Steps
In a microwave or double boiler, melt the milk and dark chocolate chips together until smooth. Stir occasionally to avoid burning.
Use cupcake liners in a muffin tin. Pour a spoonful of the melted chocolate into each liner and tilt to coat the sides. Place it in the freezer for ten minutes to harden.
In a mixing bowl, combine the peanut butter, powdered sugar, graham cracker crumbs, salt, and vanilla. Mix until well incorporated and smooth.
Once the chocolate in the liners has set, add a generous dollop of the peanut butter mixture on top, leveling with the chocolate edges.
Pour another layer of melted chocolate over the peanut butter filling until completely covered. Return to the freezer for about 20 minutes to set.
Remove the cups from the muffin tin and paper liners, and enjoy your delicious homemade Reese’s Cups!
Extra Tips
- Experiment with different types of chocolate or add nuts for extra crunch.
Nutritional Breakdown (Per Serving)
- Calories: 250 kcal
- Total Fat: 18g
- Saturated Fat: 8g
- Cholesterol: 0mg
- Sodium: 150mg
- Total Carbohydrates: 22g
- Dietary Fiber: 1g
- Sugars: 15g
- Protein: 5g